


August 2026 Updated Aug 22, 2026
How to Optimize Images for a Website: The Complete Guide
Learn how to optimize images for your website using compression, resizing, modern formats like WebP and AVIF, responsive images, and practical SEO techniques to improve performance without sacrificing visual quality.
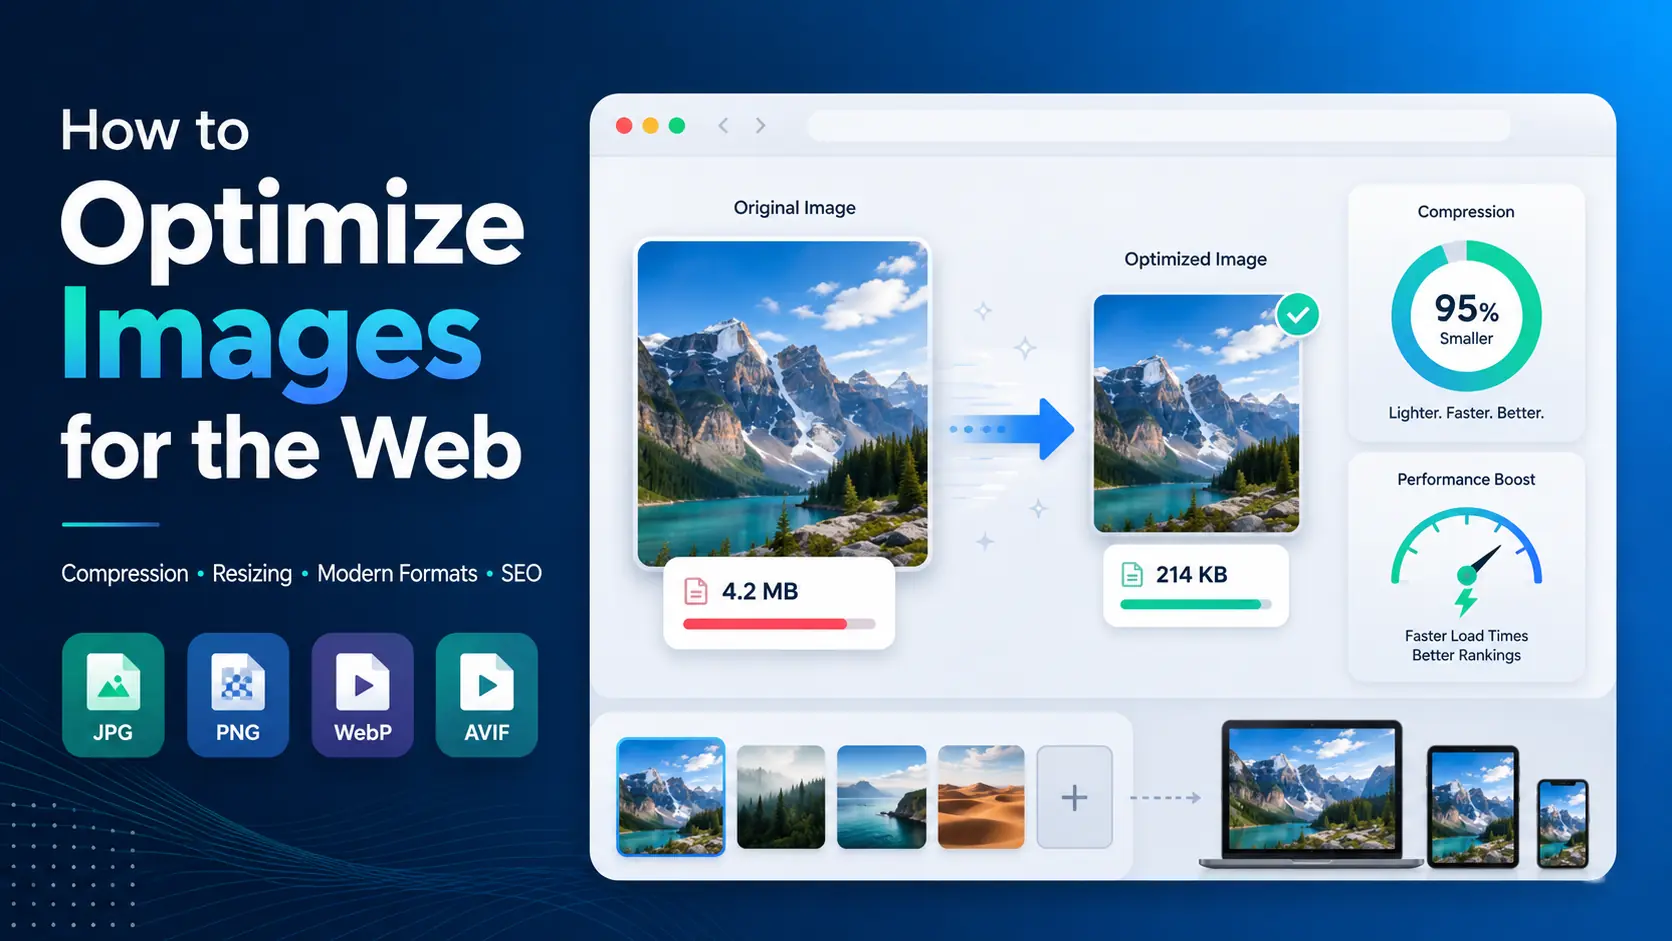
Images can make a website clearer, more attractive, and easier to use. But they can also become one of the biggest contributors to page weight when they are uploaded at unnecessarily large dimensions, saved in inefficient formats, or delivered without compression.
To optimize images for a website, you usually need to do four things: choose suitable dimensions, compress the file, select an efficient image format, and deliver the image correctly in your HTML or website platform.
You do not need to make every image tiny or sacrifice visible quality. Good website image optimization is about finding a sensible balance between file size, visual quality, dimensions, format, and how the image is actually used on the page.
This guide explains the complete process, from compression and resizing to WebP, AVIF, responsive images, SEO, lazy loading, and common mistakes.
What Is Website Image Optimization?
Website image optimization is the process of reducing the amount of image data a browser needs to download while preserving enough visual quality for the image’s intended use.
That can involve:
- Compressing the image
- Reducing its pixel dimensions
- Converting it to a more efficient format
- Removing unnecessary metadata
- Serving different image sizes to different devices
- Loading images only when they are needed
- Adding appropriate image SEO information
These techniques solve different problems, so it helps to understand the terminology.
Image dimensions
Image dimensions describe the width and height of an image in pixels.
For example:
2400 × 1600 pixels
A large image may have far more pixels than the website actually displays.
File size
File size describes how much storage or bandwidth the image requires.
For example:
850 KB
or:
2.4 MB
Pixel dimensions and file size are related, but they are not the same thing.
A 2000 × 1200 image could be 250 KB or several megabytes depending on its format, compression level, image content, and encoding.
Compression
Compression reduces the amount of data required to store an image.
There are two broad types.
Lossy compression removes some information from the image to achieve a smaller file size.
Lossless compression reduces file size without intentionally discarding the original image information.
Lossy compression can often produce significantly smaller files, particularly for photographs, although aggressive settings may create visible artifacts.
Resizing
Resizing changes the image’s pixel dimensions.
For example:
4000 × 3000 → 1200 × 900
If your website only displays an image at roughly 1200 pixels wide, uploading a 4000-pixel version may result in unnecessary data being downloaded unless responsive image delivery is configured correctly.
Image conversion
Conversion changes an image from one format to another.
For example:
JPG → WebP
or:
PNG → AVIF
Conversion alone does not guarantee that the resulting file will be smaller or visually better. The best format depends on the type of image and how it will be used.
The Fastest Way to Optimize Images for a Website
For most website images, use this workflow:
- Determine the largest dimensions the image actually needs.
- Resize oversized images.
- Choose an appropriate web image format.
- Compress the image.
- Compare the result with the original.
- Upload the optimized version.
- Use responsive image delivery where appropriate.
- Add meaningful alt text when the image conveys useful content.
- Check the page on both desktop and mobile.
- Test performance after publishing.
The exact settings will vary. A large homepage hero, a small product thumbnail, a transparent logo, and a detailed photograph should not necessarily use the same optimization settings.
Why Image Optimization Matters
Image optimization affects more than storage space.
Faster page loading
Large images require more data to be transferred to the visitor’s browser.
A page containing several multi-megabyte images can become unnecessarily heavy, especially for users on slower mobile networks.
Reducing those files can make pages noticeably faster.
Better mobile experience
Mobile visitors may have slower connections and smaller screens.
Sending a 3000-pixel-wide image to a phone when the image is displayed at only a few hundred CSS pixels wide may waste bandwidth.
Responsive image techniques can help browsers request a more suitable version.
Web performance
Images often account for a substantial portion of the resources downloaded on visually rich pages.
Image optimization can therefore contribute to better page-loading performance.
Google’s performance metrics and Core Web Vitals can change over time, so check Google’s current documentation before publishing specific thresholds or recommendations.
Reduced bandwidth
Smaller image files mean less data needs to be transferred.
This can reduce bandwidth consumption for both the website and its visitors.
The benefit becomes more significant as traffic grows or when pages contain many images.
SEO
Image optimization can support SEO indirectly by improving usability and performance. Image-specific practices such as descriptive filenames, appropriate alt text, relevant surrounding content, and accessible image delivery can also help search engines understand images.
Image SEO is not simply a matter of making files smaller.
Image Optimization in SEO ImgTask Image Optimizer
How to Compress Images for a Website
Image compression is one of the easiest places to start.
If an image is already the correct dimensions but the file is unnecessarily large, compression may reduce its size without requiring you to change the width or height.
Step 1: Choose the image
Identify the image you want to optimize.
Before compressing it, check whether its dimensions are significantly larger than necessary. If they are, resize it first.
Step 2: Compress the file
You can use ImgTask’s image compression tool to reduce the file size directly.
Upload the image and process it using the available compression options.
Step 3: Check the visual result
Do not judge optimization only by the number of kilobytes saved.
Look at:
- Faces
- Text
- Fine edges
- Gradients
- Shadows
- Product details
- Background textures
If compression causes obvious blockiness, smearing, banding, or loss of detail, use a less aggressive setting.
Step 4: Compare file sizes
Record both the original and optimized file size.
For example:
| Version | Dimensions | Format | File Size |
|---|---|---|---|
| Original | 1448 × 1086 | PNG | 2.11 MB |
| Optimized | 1448 × 1086 | PNG | 634.1 KB |
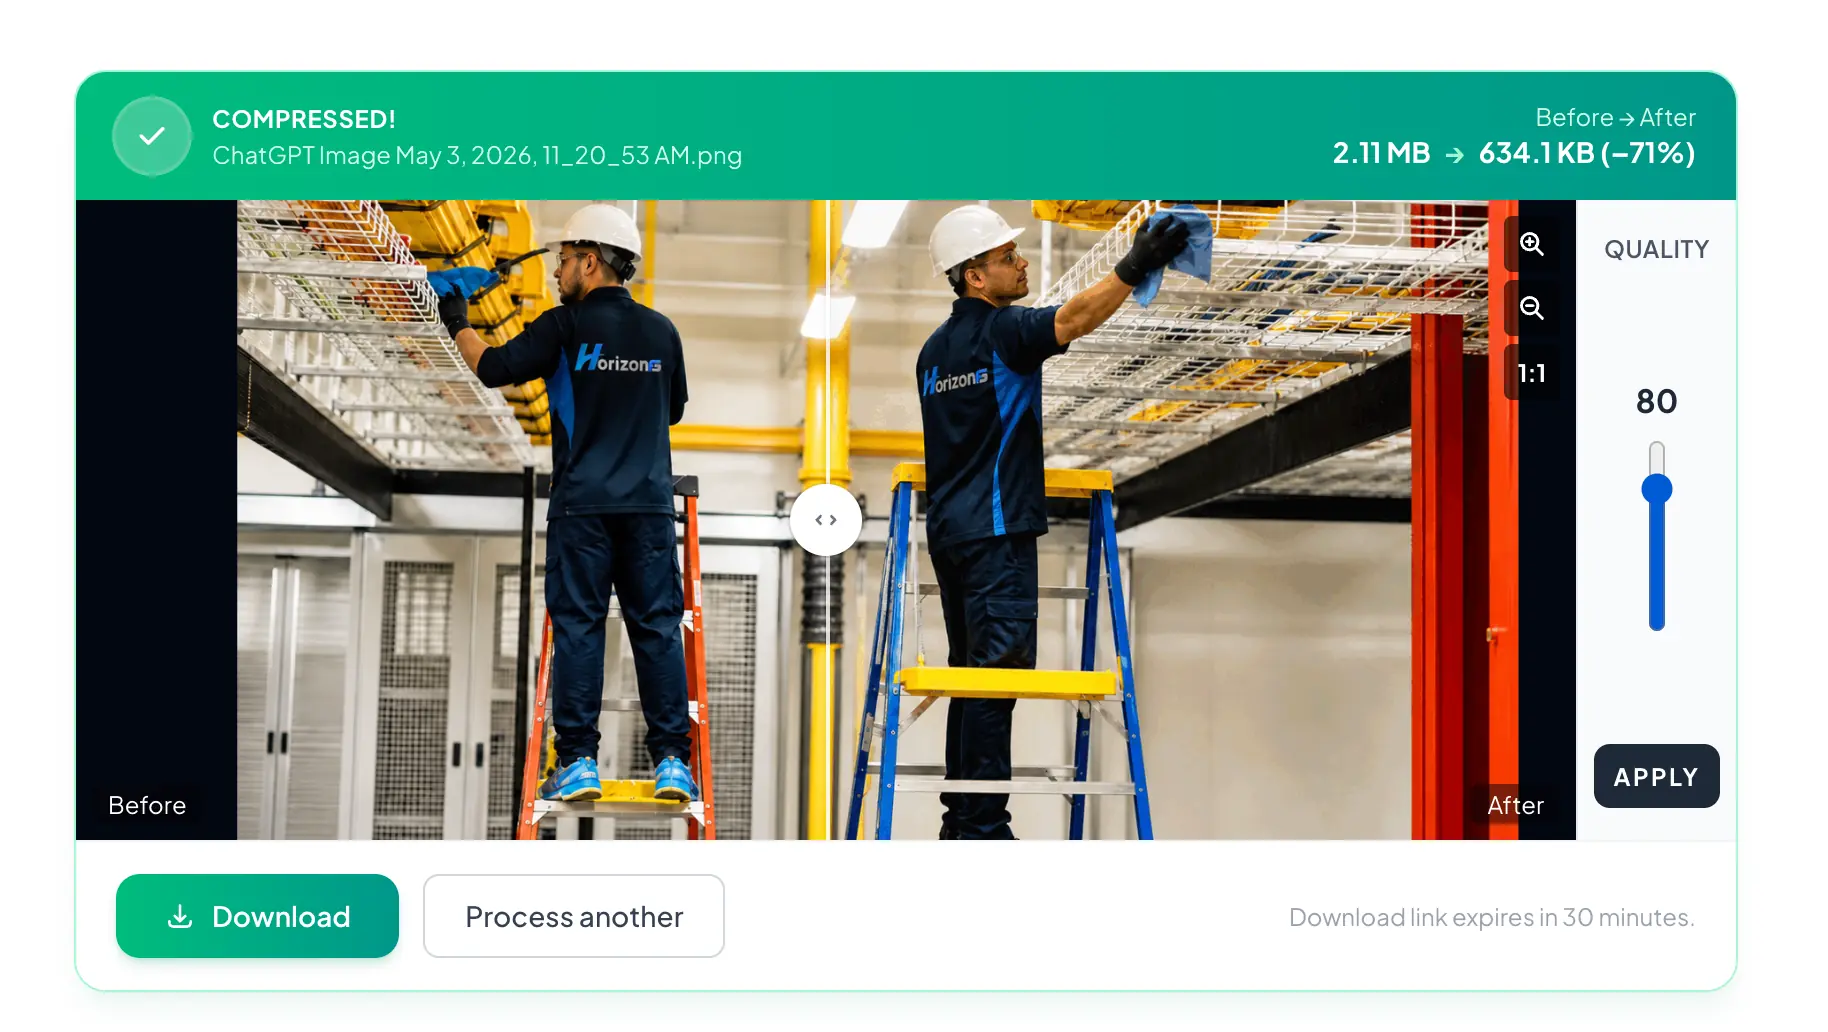
PNG image result after compression using the ImgTask Image Compressor.
Adding real before-and-after measurements can make this guide much more useful than relying on generic compression advice.
Step 5: Test it in the page
An image that looks good when opened by itself may appear differently when displayed in a website layout.
Check the actual page on:
- Desktop
- Tablet if relevant
- Mobile
- Standard displays
- High-density displays where possible
The goal is not to create the smallest possible image. The goal is to create an image that looks appropriate while transferring as little unnecessary data as practical.
Compression vs Resizing: What Is the Difference?
These two techniques are frequently confused.
Compression reduces how much data the image file requires.
Resizing changes the number of pixels in the image.
Imagine you have a photograph that is:
4000 × 2667 pixels and 5 MB
If your website displays it at a maximum width of 1200 pixels, resizing it to an appropriate size removes pixels your layout may never need.
After resizing, you can compress the resulting image further.
For many large camera or stock photographs, the practical workflow is therefore:
Resize → choose format → compress
not simply:
Compress the original 5 MB file
What Is the Best Image Format for Websites?
There is no single best image format for every website image.
The right format depends on what the image contains, whether transparency is needed, how much compatibility matters, and what size-versus-quality tradeoff you are willing to accept.
A practical comparison looks like this:
| Format | Common Strength | Transparency | Typical Web Use |
|---|---|---|---|
| JPEG/JPG | Photographs and broad compatibility | No standard alpha transparency | Photos, banners, article images |
| PNG | Lossless graphics and transparency | Yes | Logos, interface graphics, screenshots |
| WebP | Modern general-purpose web images | Yes | Photos, graphics, web assets |
| AVIF | Efficient modern image delivery | Yes | Web images where workflow/support is suitable |
| SVG | Vector graphics | Yes | Logos, icons, illustrations |
Browser, CMS, editing software, and platform support can change.
JPEG
JPEG remains useful for photographs and images with many colors and gradients.
It uses lossy compression and does not provide the same type of full alpha transparency available in formats such as PNG, WebP, and AVIF.
JPEG is still valuable when broad compatibility and a simple workflow are priorities.
PNG
PNG is commonly used when lossless storage or transparency is important.
It is particularly useful for:
- Logos
- Screenshots
- Interface graphics
- Illustrations with sharp edges
- Images requiring transparency
However, a photographic PNG can become extremely large compared with formats designed to compress photographic content efficiently.
Do not use PNG automatically just because it preserves quality.
WebP
WebP is designed for web image delivery and supports both lossy and lossless compression as well as transparency.
It is a practical option for many photographs, graphics, thumbnails, and other web images.
If you currently have JPEG or PNG files, ImgTask provides format-specific conversion tools:
AVIF
AVIF is another modern image format designed to provide efficient compression.
Depending on the source image and encoding settings, AVIF can provide an attractive size-versus-quality tradeoff.
However, format choice should not be based on compression efficiency alone. Consider your browser requirements, image-processing workflow, CMS, fallback strategy, and software compatibility.
ImgTask can also be used when converting certain images to AVIF.
SVG
SVG is fundamentally different from raster formats such as JPEG, PNG, WebP, and AVIF.
SVG stores vector information rather than a fixed grid of pixels.
It can be excellent for:
- Logos
- Icons
- Simple diagrams
- Illustrations
- Interface graphics
A properly designed SVG can remain sharp at many display sizes.
It is usually not a replacement for ordinary photographic images.
Which Format Should You Choose?
A simple starting point is:
Photographs: JPEG, WebP, or AVIF depending on your workflow.
Transparent graphics: PNG, WebP, AVIF, or SVG depending on the content.
Logos and simple icons: SVG when appropriate.
Screenshots: PNG or a well-tested modern format when the result remains visually clean.
Animations: choose a format based on the animation requirements and target-platform support.
Do not convert every image on your website to one format without checking the result.
The best web picture format is the one that meets the image’s actual requirements with acceptable visual quality, file size, compatibility, and workflow complexity.
Resize Images Before Uploading Them
One of the most common image optimization mistakes is uploading images far larger than the layout requires.
Suppose a blog’s content area never displays images above 1000 pixels wide.
Uploading a 5000-pixel-wide photograph may be unnecessary unless the site generates and serves appropriately sized responsive versions or the larger source is required for another purpose.
Before uploading, ask:
- What is the image’s maximum displayed width?
- Does the site generate multiple sizes automatically?
- Will the image appear on high-density displays?
- Will visitors ever need the original resolution?
- Does the CMS already resize uploads?
There is no universal pixel dimension that works for every website.
The correct size depends on your layout.
Do Not Confuse Display Size With Image Size
CSS can visually shrink a large image without reducing the amount of image data downloaded.
For example, this:
<img src="large-photo.jpg" width="600" alt="Example">does not automatically mean the source file itself contains only enough pixels for a 600-pixel display.
The browser may still download the original source.
This is why source dimensions, responsive images, and actual delivery behavior matter.
Use Responsive Images
A desktop monitor and a small mobile phone do not always need the same image file.
HTML provides mechanisms such as srcset and sizes that allow browsers to select from multiple image candidates.
A simplified example:
<img
  src="photo-1200.webp"
  srcset="
    photo-480.webp 480w,
    photo-800.webp 800w,
    photo-1200.webp 1200w
  "
  sizes="(max-width: 600px) 100vw, 1200px"
  alt="Description of the image"
>
The goal is to give the browser enough information to select an appropriate image based on the page layout and device conditions.
The exact implementation should match your CSS layout rather than copying arbitrary breakpoints.
Use the HTML Picture Element When Necessary
The <picture> element can be useful when you need different image sources depending on format or media conditions.
The team
Written by
ImgTask Team
authorKeep reading
Related articles

How to Create a QR Code: A Complete Guide for URLs, WiFi and More
ImgTask Team
August 27, 2026 9 min read
Best Image Format for Websites: JPG vs PNG vs WebP vs AVIF
ImgTask Team
August 3, 2026 6 min read
How to Reduce Image File Size Without Losing Quality
ImgTask Team
August 2, 2026 7 min read