


August 2026 Updated Aug 22, 2026
How to Reduce Image File Size Without Losing Quality
Learn how to reduce image file size without losing noticeable quality using smart compression, resizing, and efficient formats like WebP and AVIF.

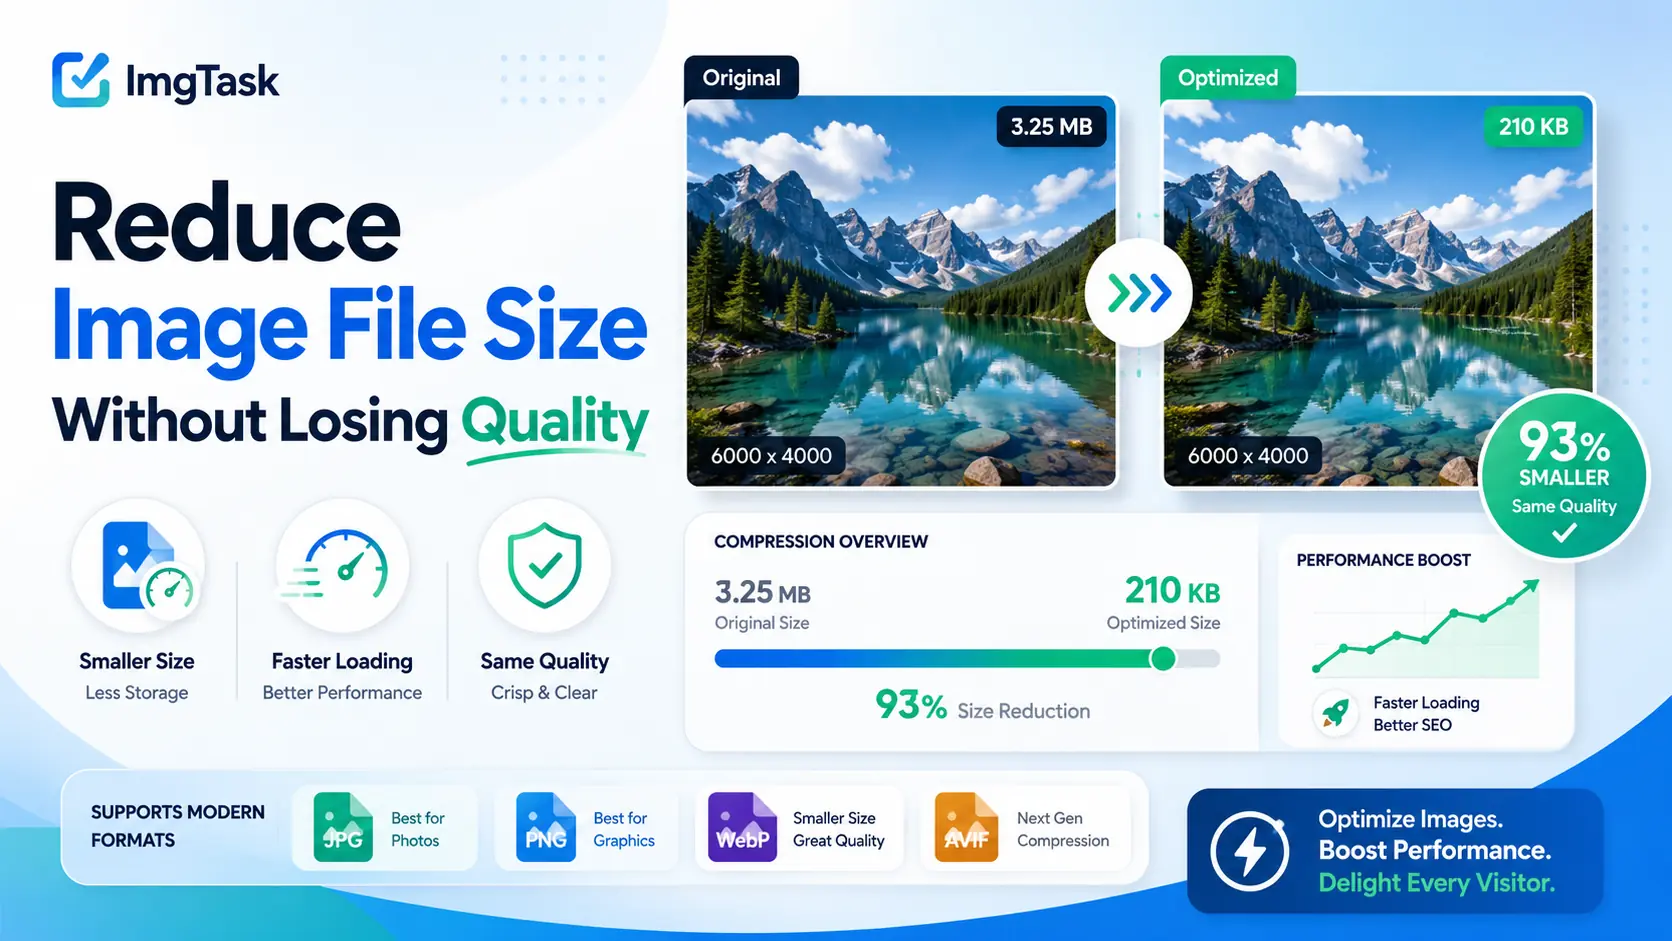
Large image files can quickly become a problem. They take longer to upload, consume more storage, make websites slower, and may exceed the file-size limits of websites, forms, email services, or other platforms.
The good news is that you can often reduce image file size without losing noticeable quality. The best method depends on what is making the image large in the first place: excessive dimensions, inefficient compression, unnecessary metadata, or the image format itself.
In many cases, the most effective approach is to compress the image first, resize it only when its pixel dimensions are larger than necessary, and consider a more efficient format such as WebP or AVIF when appropriate.
This guide explains how to do that while keeping your images looking sharp.
What Does Reducing Image File Size Actually Mean?
Before compressing an image, it helps to understand the difference between several terms that are often confused.
File size is the amount of storage an image uses. It is normally measured in KB or MB.
Image dimensions describe the width and height of the image in pixels, such as 1920 × 1080 pixels.
Compression reduces the amount of data required to store an image.
Resizing changes the width or height of the image.
Conversion changes the image from one format to another, such as JPG to WebP.
These methods can all reduce image file size, but they work differently.
For example, a 6000 × 4000 pixel photo may be several megabytes because it contains far more pixels than a website needs. Compressing it may help, but resizing it to 1600 pixels wide could reduce the file size much further.
How to Reduce Image File Size Without Losing Quality
There are four main ways to make an image file smaller while protecting visual quality:
Compress the image efficiently.
Resize unnecessarily large dimensions.
Choose a more efficient image format.
Remove unnecessary image data or metadata.
You do not always need to use all four.
For many images, compression alone provides a useful reduction. For very large photos, combining resizing and compression is usually more effective.
1. Compress the Image
Image compression is normally the first thing to try when you want to reduce file size without changing the image dimensions.
Compression works by storing image data more efficiently.
There are two broad types.
Lossless compression
Lossless image compression reduces file size without intentionally discarding the original image information.
This makes it useful when maintaining the original image data is important.
However, lossless compression generally cannot reduce photographic images as aggressively as lossy compression.
PNG commonly uses lossless compression, although the exact file size depends heavily on the image content and how the file is encoded.
Lossy compression
Lossy compression removes some image information to create a smaller file.
JPEG is a common example.
The important point is that lossy compression does not automatically mean the image will look bad.
A carefully compressed photograph can often become significantly smaller while looking almost identical during normal viewing.
Problems usually appear when compression becomes too aggressive.
You may begin to notice:
blocky areas
blurry fine details
color banding
halos around objects
damaged text or graphics
The goal is therefore not necessarily to avoid all lossy compression. It is to find the point where the file becomes meaningfully smaller without creating visible quality problems.
Compress an image with ImgTask
If you simply need to make an image file smaller, you can use the ImgTask Image Compressor:
Upload the image, compress it, and compare the resulting file with the original before using it.
For important images, inspect both versions at normal display size rather than judging the result only from the percentage reduction.
2. Resize Images That Are Larger Than Necessary
Compression and resizing solve different problems.
Compression reduces how much data is required to store the image.
Resizing reduces the number of pixels in the image.
Consider a photograph that is:
6000 × 4000 pixels
If the image will only appear at around 1200 pixels wide on a website, keeping all 6000 pixels may provide little practical benefit.
Reducing the dimensions can dramatically reduce the amount of image data that needs to be stored.
You can resize oversized images with ImgTask:
Resize for the actual use case
Avoid resizing images blindly.
Think about where the image will be displayed.
Use case | What to consider |
Website article image | Maximum content width |
Blog thumbnail | Actual thumbnail dimensions |
Product image | Required product zoom/detail |
Email image | Display size inside the email |
Photography archive | Preserve the original separately |
Social post | Platform requirements |
For web use, there is usually little benefit in serving a 5000-pixel-wide image when the layout never displays it anywhere near that size.
Does resizing reduce image quality?
Reducing dimensions removes pixels, so technically the resized image contains less information.
However, that does not necessarily mean it will look worse in its intended use.
A properly resized 1600-pixel image displayed at 1200 pixels wide may look just as sharp as the original 5000-pixel image while requiring much less storage and bandwidth.
Problems usually happen when you resize an image too small and then display it larger than its new dimensions.
3. Use a More Efficient Image Format
Sometimes the image format itself is responsible for an unnecessarily large file.
Different formats are designed for different types of images.
JPEG
JPEG is widely used for photographs and other images containing many colors and gradients.
It supports lossy compression and can create relatively small photographic files.
However, JPEG does not support transparency.
PNG
PNG is useful for images that need transparency or where lossless storage is important.
It works particularly well for certain graphics, screenshots, logos, and images containing large areas of flat color.
For complex photographs, PNG files can become much larger than JPEG, WebP, or AVIF alternatives.
WebP
WebP supports both lossy and lossless compression and can also support transparency.
For many web images, converting an existing JPEG or PNG to WebP may create a smaller file while maintaining good visual quality.
You can convert JPEG images to WebP using ImgTask:
ImgTask JPEG to WebP Converter
PNG images can also be converted to WebP:
Browser and platform support can change over time.
AVIF
AVIF is another modern format designed to provide efficient image compression.
It can be particularly effective for photographic content, although encoding behavior, compatibility, and workflow requirements should be considered before using it everywhere.
You can convert JPEG images to AVIF with:
ImgTask JPEG to AVIF Converter
Current browser, CMS, editing software, and platform compatibility should be verified before choosing AVIF as the only version of an important image.
Which Format Gives the Smallest File Size?
There is no single format that always creates the smallest useful image.
The result depends on:
image content
dimensions
compression settings
transparency requirements
desired visual quality
encoder being used
A photograph may work very well as JPEG, WebP, or AVIF.
A transparent logo may be better suited to PNG or WebP.
A screenshot containing text and sharp UI elements may behave differently from a photograph.
Instead of choosing a format only because it is considered “modern,” compare actual output quality and file size using the type of images your project uses.
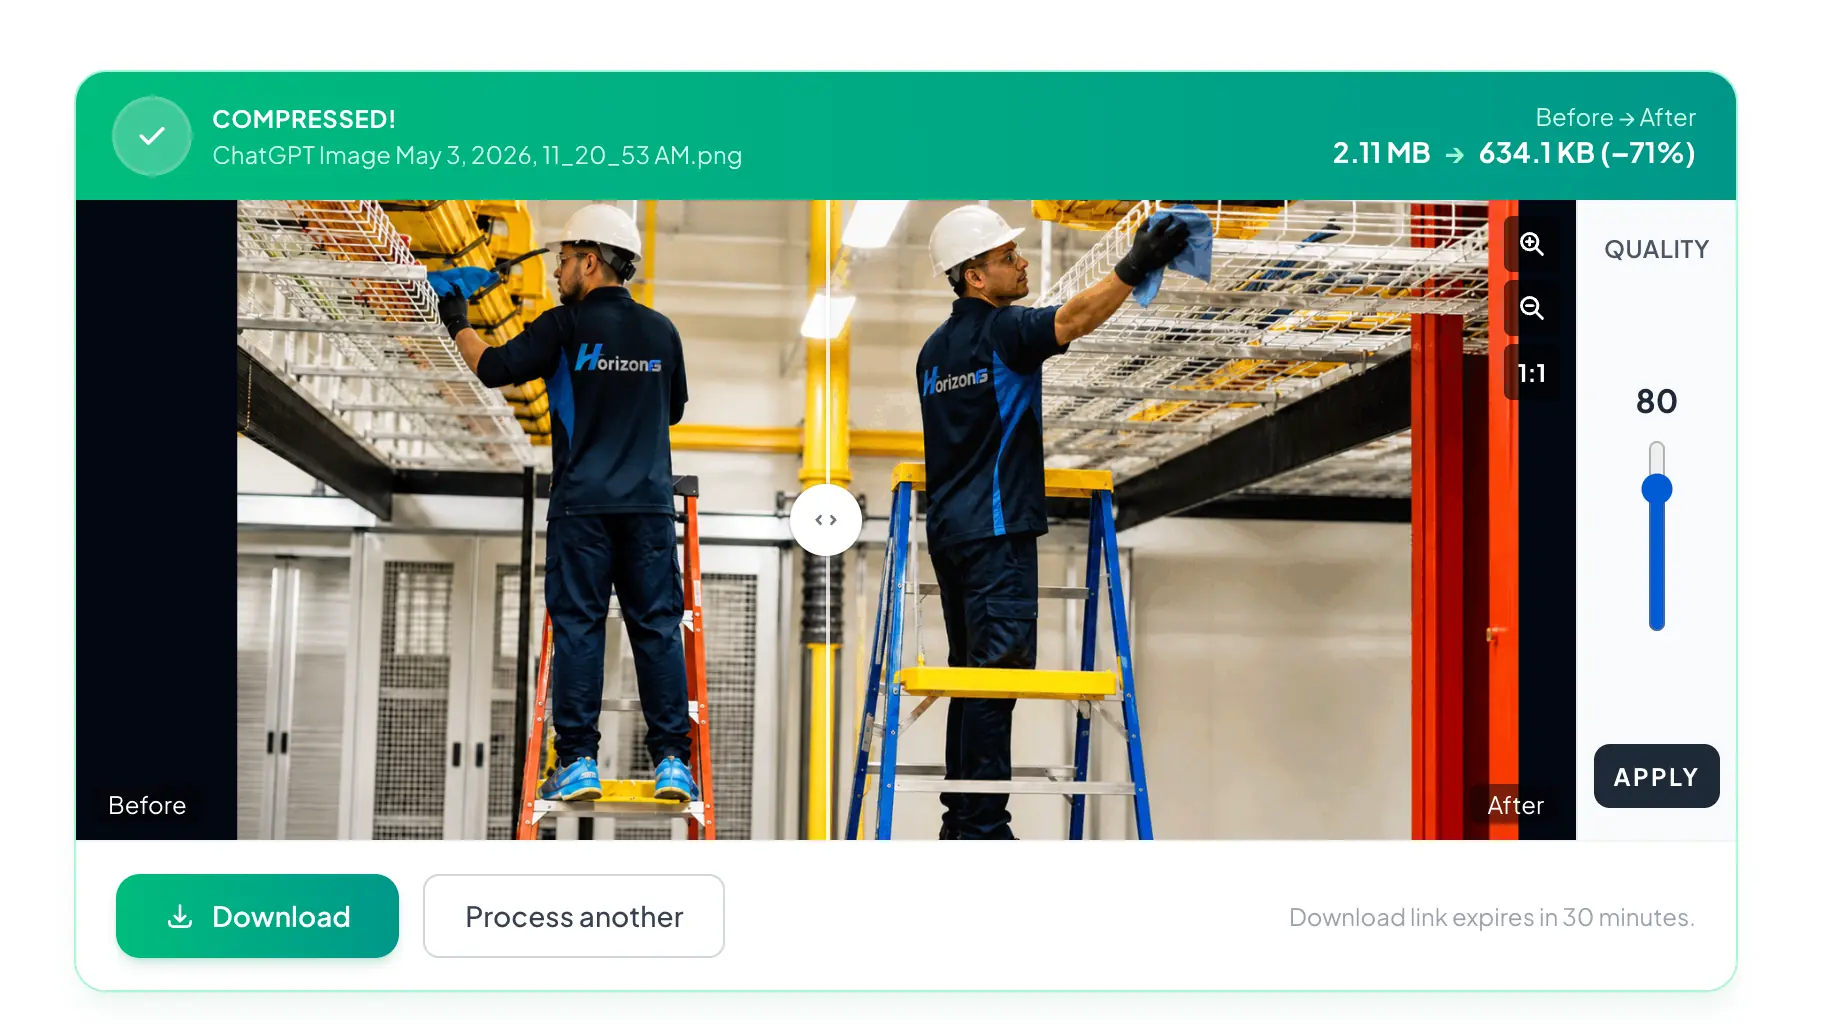
A useful original ImgTask test could compare the same source image as:
JPEG
compressed JPEG
WebP
AVIF
resized and compressed JPEG
resized WebP
resized AVIF
Record both the resulting file size and visible quality.
How to Compress JPG Without Losing Noticeable Quality
JPEG is already a compressed format, but many JPEG images can still be reduced further.
For the best results:
Start from the highest-quality source available.
Resize excessive dimensions first if necessary.
Apply moderate JPEG compression.
Inspect detailed areas such as hair, textures, gradients, and text.
Compare the result with the original at the size it will actually be displayed.
Avoid repeatedly opening and re-saving the same JPEG with aggressive compression.
Each lossy re-encoding can potentially discard additional information.
If a JPEG is intended for a website, you may also want to test WebP or AVIF rather than repeatedly compressing the JPEG.
Compress the image:
Or convert JPEG to WebP:
ImgTask JPEG to WebP Converter
How to Reduce PNG File Size Without Losing Quality
PNG files often become large when they contain photographs, complex gradients, or large dimensions.
Start by asking whether PNG is actually necessary.
If the image needs transparency or lossless characteristics, keeping PNG may make sense.
You can then try lossless compression and remove unnecessary metadata where appropriate.
If transparency is not required and the image is photographic, another format may create a considerably smaller result.
For web use, you can also compare the PNG with a WebP version:
Do not convert PNG to JPEG automatically if the PNG contains transparency, because JPEG cannot preserve transparent pixels.
How to Reduce WebP File Size
WebP is already designed for efficient web image delivery, but a WebP file can still be unnecessarily large.
Check:
whether its dimensions are excessive
whether its quality setting is unnecessarily high
whether lossless encoding is being used when lossy encoding would be acceptable
whether the source image contains unnecessary detail
whether a different encoding setting produces a better size-to-quality balance
Simply converting an image to WebP does not guarantee that the result will always be smaller.
Always compare the actual output.
A Practical Image Optimization Workflow
A simple workflow works well for most website images.
Step 1: Keep the original
Do not overwrite your only high-resolution copy.
Keep the original image somewhere safe and create an optimized version for publishing.
Step 2: Check the dimensions
Find the image's width and height.
If the dimensions are much larger than the image will ever be displayed, resize it:
Step 3: Compress the image
Compress the resized image while keeping enough visual quality for its intended use:
Step 4: Test another format
For web images, compare the compressed image with WebP or AVIF.
JPEG to WebP:
ImgTask JPEG to WebP Converter
JPEG to AVIF:
ImgTask JPEG to AVIF Converter
PNG to WebP:
Step 5: Compare the results
Do not judge only by file size.
Check:
sharpness
text readability
gradients
shadows
faces
fine textures
transparent areas
Choose the smallest version that still looks correct for its intended purpose.
Example: Reducing a Large Website Photo
Suppose you receive a photograph with these properties:
4288 × 2848 pixels
JPEG format
several megabytes in size
But your website only displays the image at approximately 1400 pixels wide.
A sensible workflow would be:
Resize the image to an appropriate width.
Compress the resized JPEG.
Create a WebP version.
Create an AVIF version if your website workflow supports it.
Compare appearance and file size.
Use the version that provides the best balance for your website.
You can perform these steps with:
Resize the image:
ImgTask Image Resizer
Compress the image:
ImgTask Image Compressor
Convert JPG to WebP:
ImgTask JPEG to WebP Converter
Convert JPG to AVIF:
ImgTask JPEG to AVIF Converter
Instead of guessing which method saves the most space, ImgTask could test this process using a real source image.
Suggested table:
Version | Dimensions | Format | File size | Reduction | Notes |
Original | 4288 × 2848 | JPEG | 8.8 MB | — | Original source |
Resized | 1280 × 850 | JPEG | 738.3 KB | -91.8% | Resized only |
Compressed | 1280 × 850 | JPEG | 134.5 KB | −82% | Compression applied |
WebP | 1280 × 850 | WebP | 45.6 KB | -93.8% | Converted version from resized image |
AVIF | 1280 × 850 | AVIF | 25.6 KB | -96.5% | Converted version from resized image |
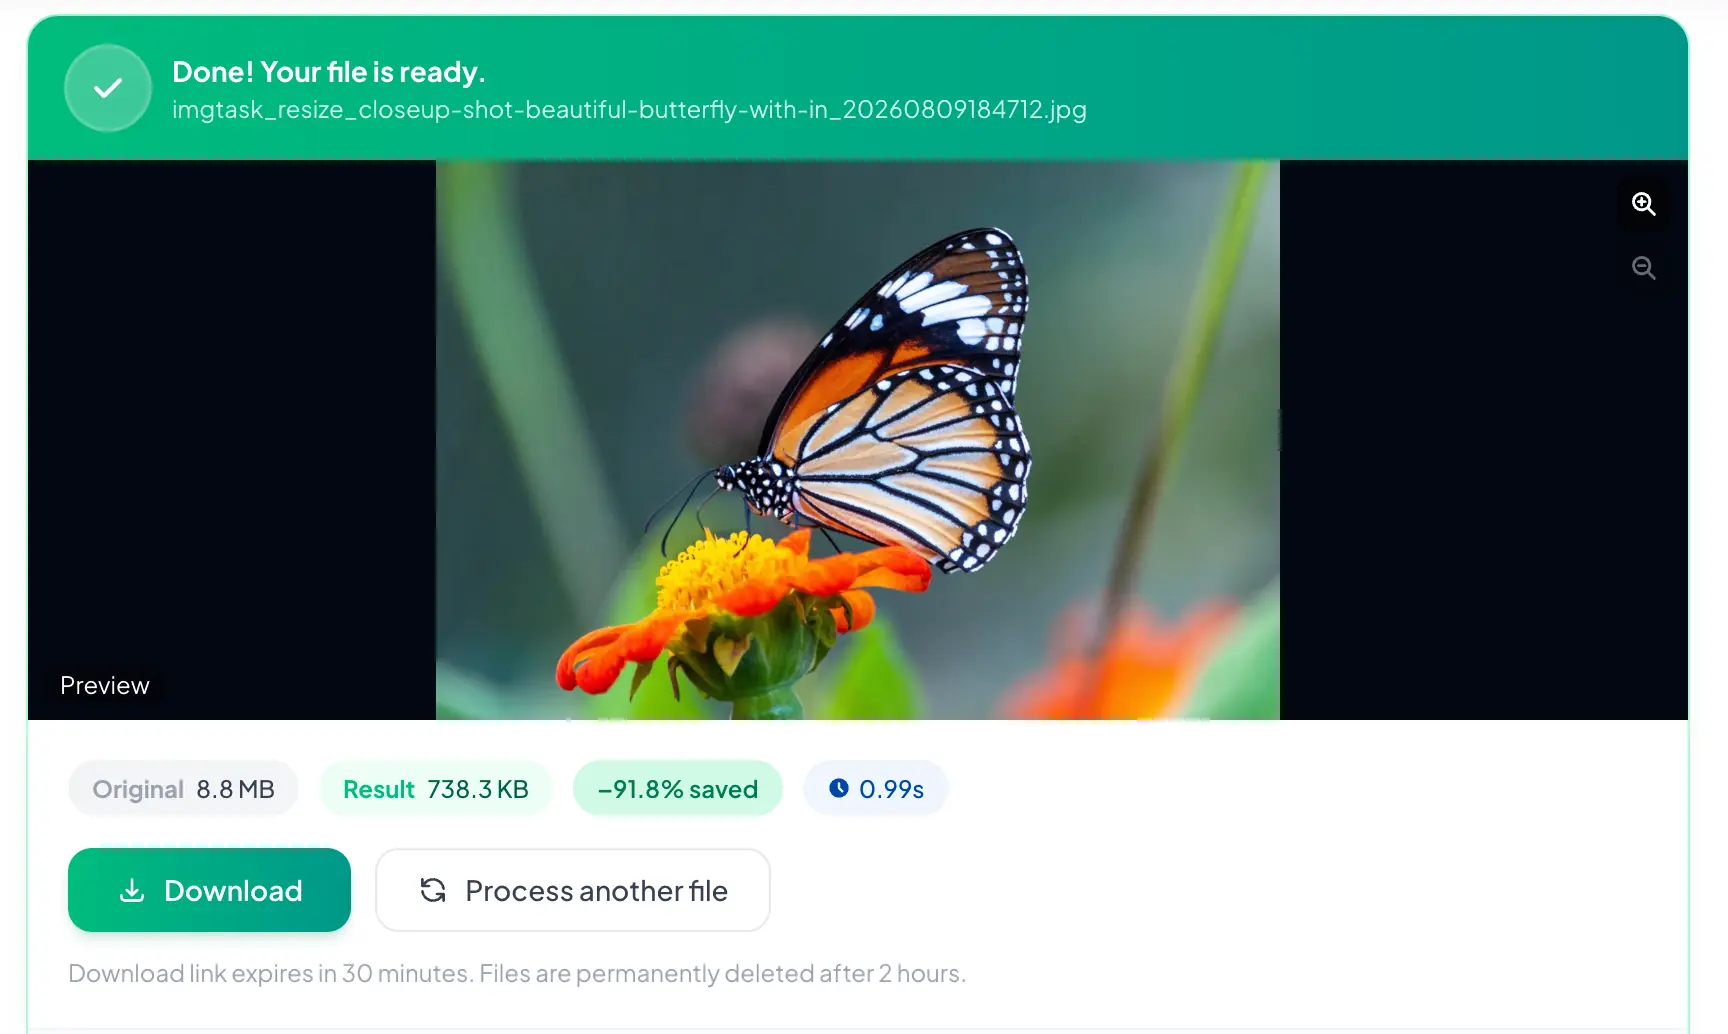
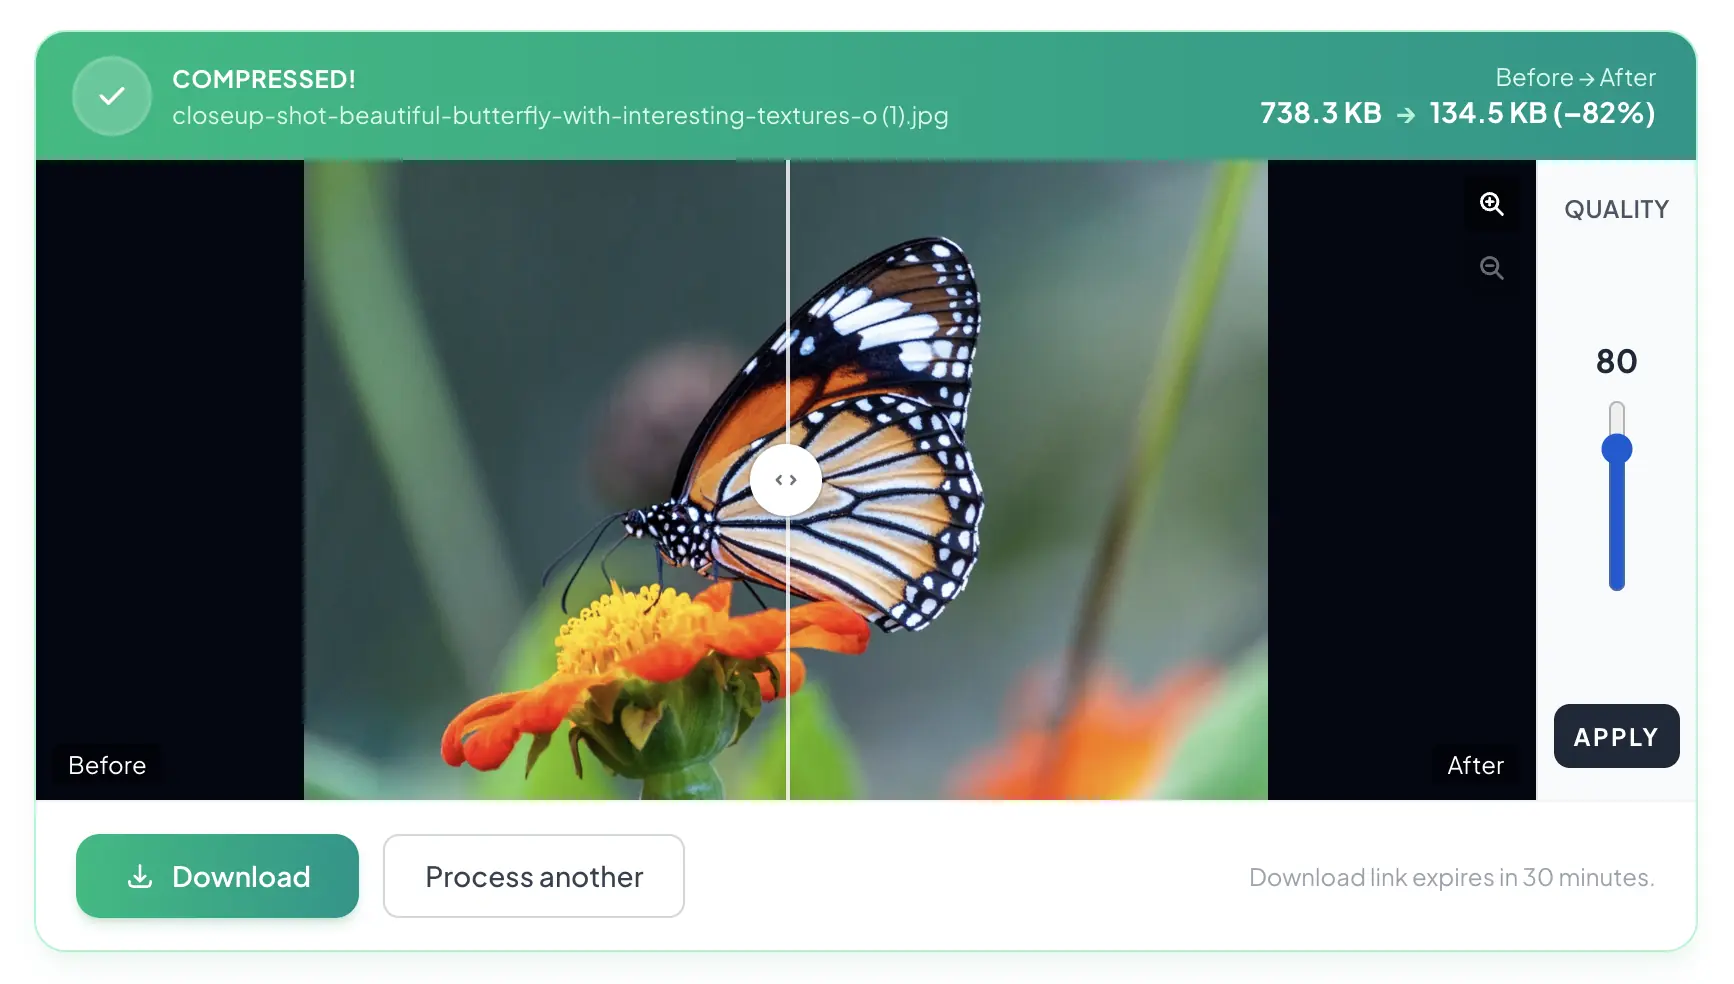
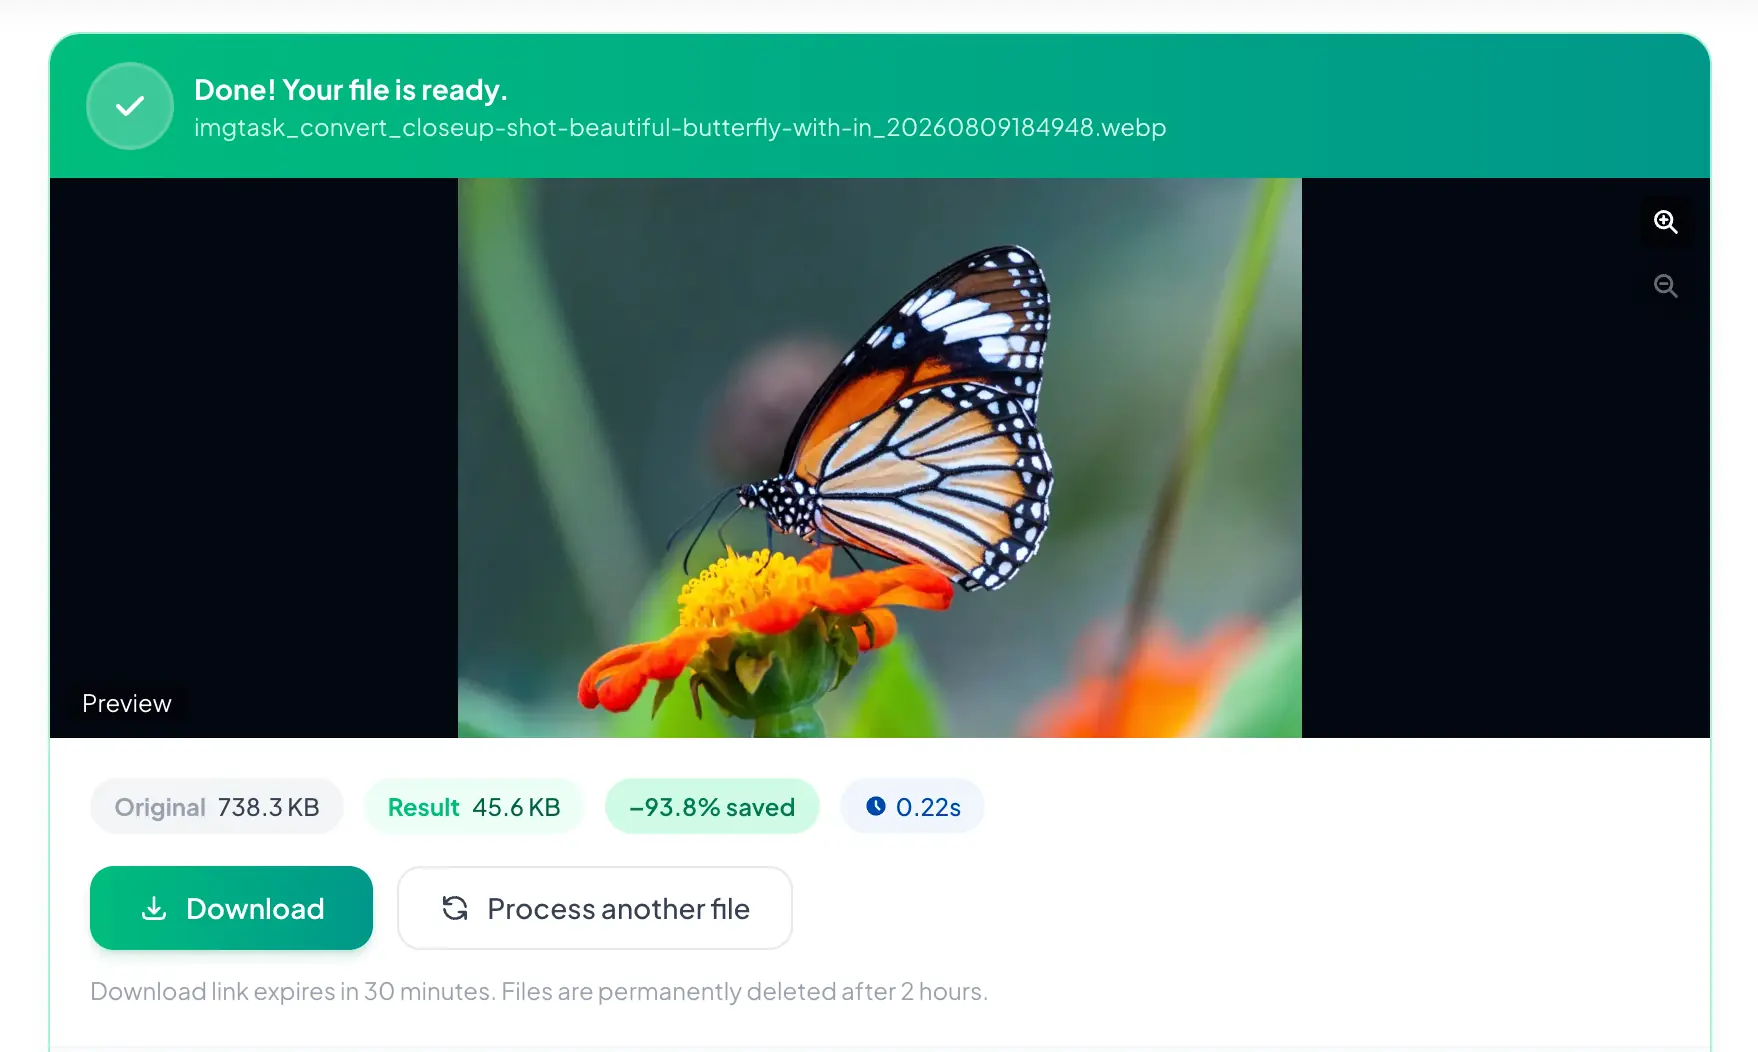
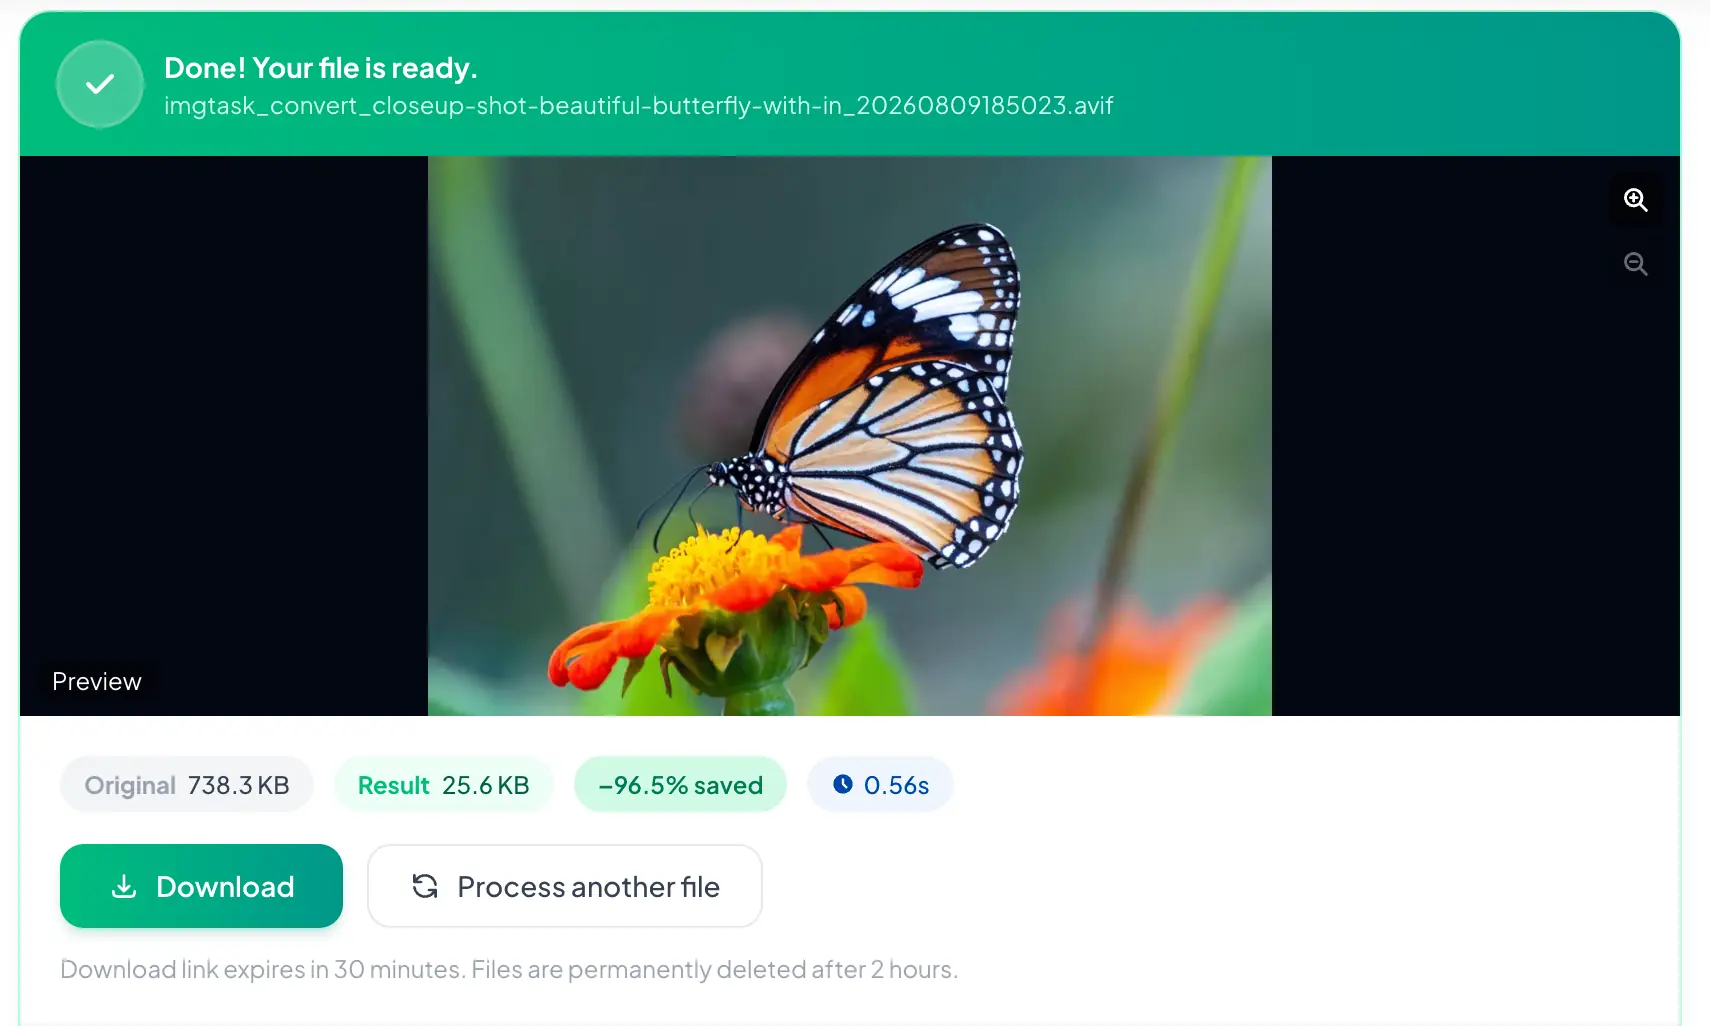
Using your own test results gives readers something much more useful than generic claims about which format “always” wins.
Common Mistakes When Making Image Files Smaller
Compressing too aggressively
A tiny file is not useful if the image visibly falls apart.
Stop reducing quality when artifacts become noticeable at the intended viewing size.
Confusing file size with dimensions
An image can have small dimensions but still have a large file size because of its encoding.
Likewise, a high-resolution image may have surprisingly efficient compression.
Check both.
Uploading full-resolution camera photos directly
Modern cameras and phones can produce images much larger than normal web layouts require.
Resize them when the full resolution provides no practical benefit.
You can resize large images here:
Converting every image to the same format
No format is ideal for every situation.
Choose formats according to the image itself and where it will be used.
Deleting the original
Optimization should usually create a publishing copy.
Keep your original when future editing, printing, cropping, or higher-resolution output may be required.
Looking only at percentage reduction
A tool may report an impressive reduction, but visual quality matters more than the percentage alone.
Inspect the actual output.
Can You Make an Image Smaller With Zero Quality Loss?
Yes, but there is an important distinction.
Lossless compression can reduce file size without discarding the original image information.
However, the possible reduction may be limited.
If you need a much smaller file, you may eventually need to use lossy compression, reduce dimensions, or change formats.
The practical goal for many website images is therefore not necessarily “mathematically zero loss.”
It is often to achieve no noticeable quality loss at the image's intended display size.
That distinction makes image optimization much easier.
What Is the Best Way to Reduce Image Size for a Website?
For most websites, use a combination of:
correct image dimensions
sensible compression
an appropriate image format
responsive image delivery where applicable
A 400 KB correctly sized image can sometimes be more appropriate than a 100 KB image that has visible compression damage.
Likewise, a perfectly compressed 5 MB image is still unnecessarily heavy if its pixel dimensions are several times larger than required.
Image optimization works best when you consider the whole image rather than compression alone.
Frequently Asked Questions
How can I reduce image file size without losing quality?
Start with image compression. If the file is still too large, check whether its dimensions are larger than necessary. You can then compare more efficient formats such as WebP or AVIF where appropriate.
You can start with ImgTask's Image Compressor:
Does compressing an image always reduce quality?
No. Lossless compression reduces storage requirements without intentionally discarding image information. Lossy compression removes some information, but moderate compression may create little or no visible difference during normal viewing.
How can I reduce photo file size without losing noticeable quality?
Keep the original, resize excessive dimensions, apply moderate compression, and compare the result visually. For website use, also test formats such as WebP or AVIF.
Resize:
Compress:
Is resizing the same as compressing?
No. Resizing changes the image's pixel dimensions. Compression changes how efficiently the image data is stored.
Both can reduce file size.
Should I use JPG, PNG, WebP, or AVIF?
It depends on the image.
JPEG works well for many photographs. PNG is useful when transparency or lossless characteristics are needed. WebP and AVIF can provide efficient compression for web use.
Compatibility requirements should be verified for your publishing platform.
Why is my PNG file so large?
PNG files can become large when they contain photographs, complex gradients, very large dimensions, or large amounts of image data.
If PNG-specific features are not required, another format may create a smaller file.
You can compare your PNG with a WebP version using:
Can I compress an image online?
Yes. ImgTask's Image Compressor can be used to reduce image file size online.
Final Recommendation
If you want to reduce image file size without losing noticeable quality, start with compression and check whether the image dimensions are larger than you actually need.
For website images, also compare the result with WebP or AVIF instead of assuming the original format is already the most efficient.
The best result is not simply the smallest possible file. It is the smallest image that still looks good and meets the requirements of its intended use.
Start by compressing your image with ImgTask:
The team
Written by
Dinitha Ransidu
authorKeep reading
Related articles

How to Create a QR Code: A Complete Guide for URLs, WiFi and More
Dinitha Ransidu
August 27, 2026 17 min read
Best Image Format for Websites: JPG vs PNG vs WebP vs AVIF
Dinitha Ransidu
August 3, 2026 11 min read
How to Optimize Images for a Website: The Complete Guide
Dinitha Ransidu
August 1, 2026 20 min read